


Give your garden a head start
It’s always an exciting time when buying your first garden tunnel. However, there are many things to consider before diving in, and it’s important to plan ahead when it comes to purchasing and setting up your garden tunnel. We’ve pulled together some top tips if you’re considering a garden tunnel this Spring and for more information check out our product pages.
Planning your Garden Tunnel
Planning before you purchase your garden polytunnel is key. Discover our tips to ensure you are organised and ready for your new polytunnel.
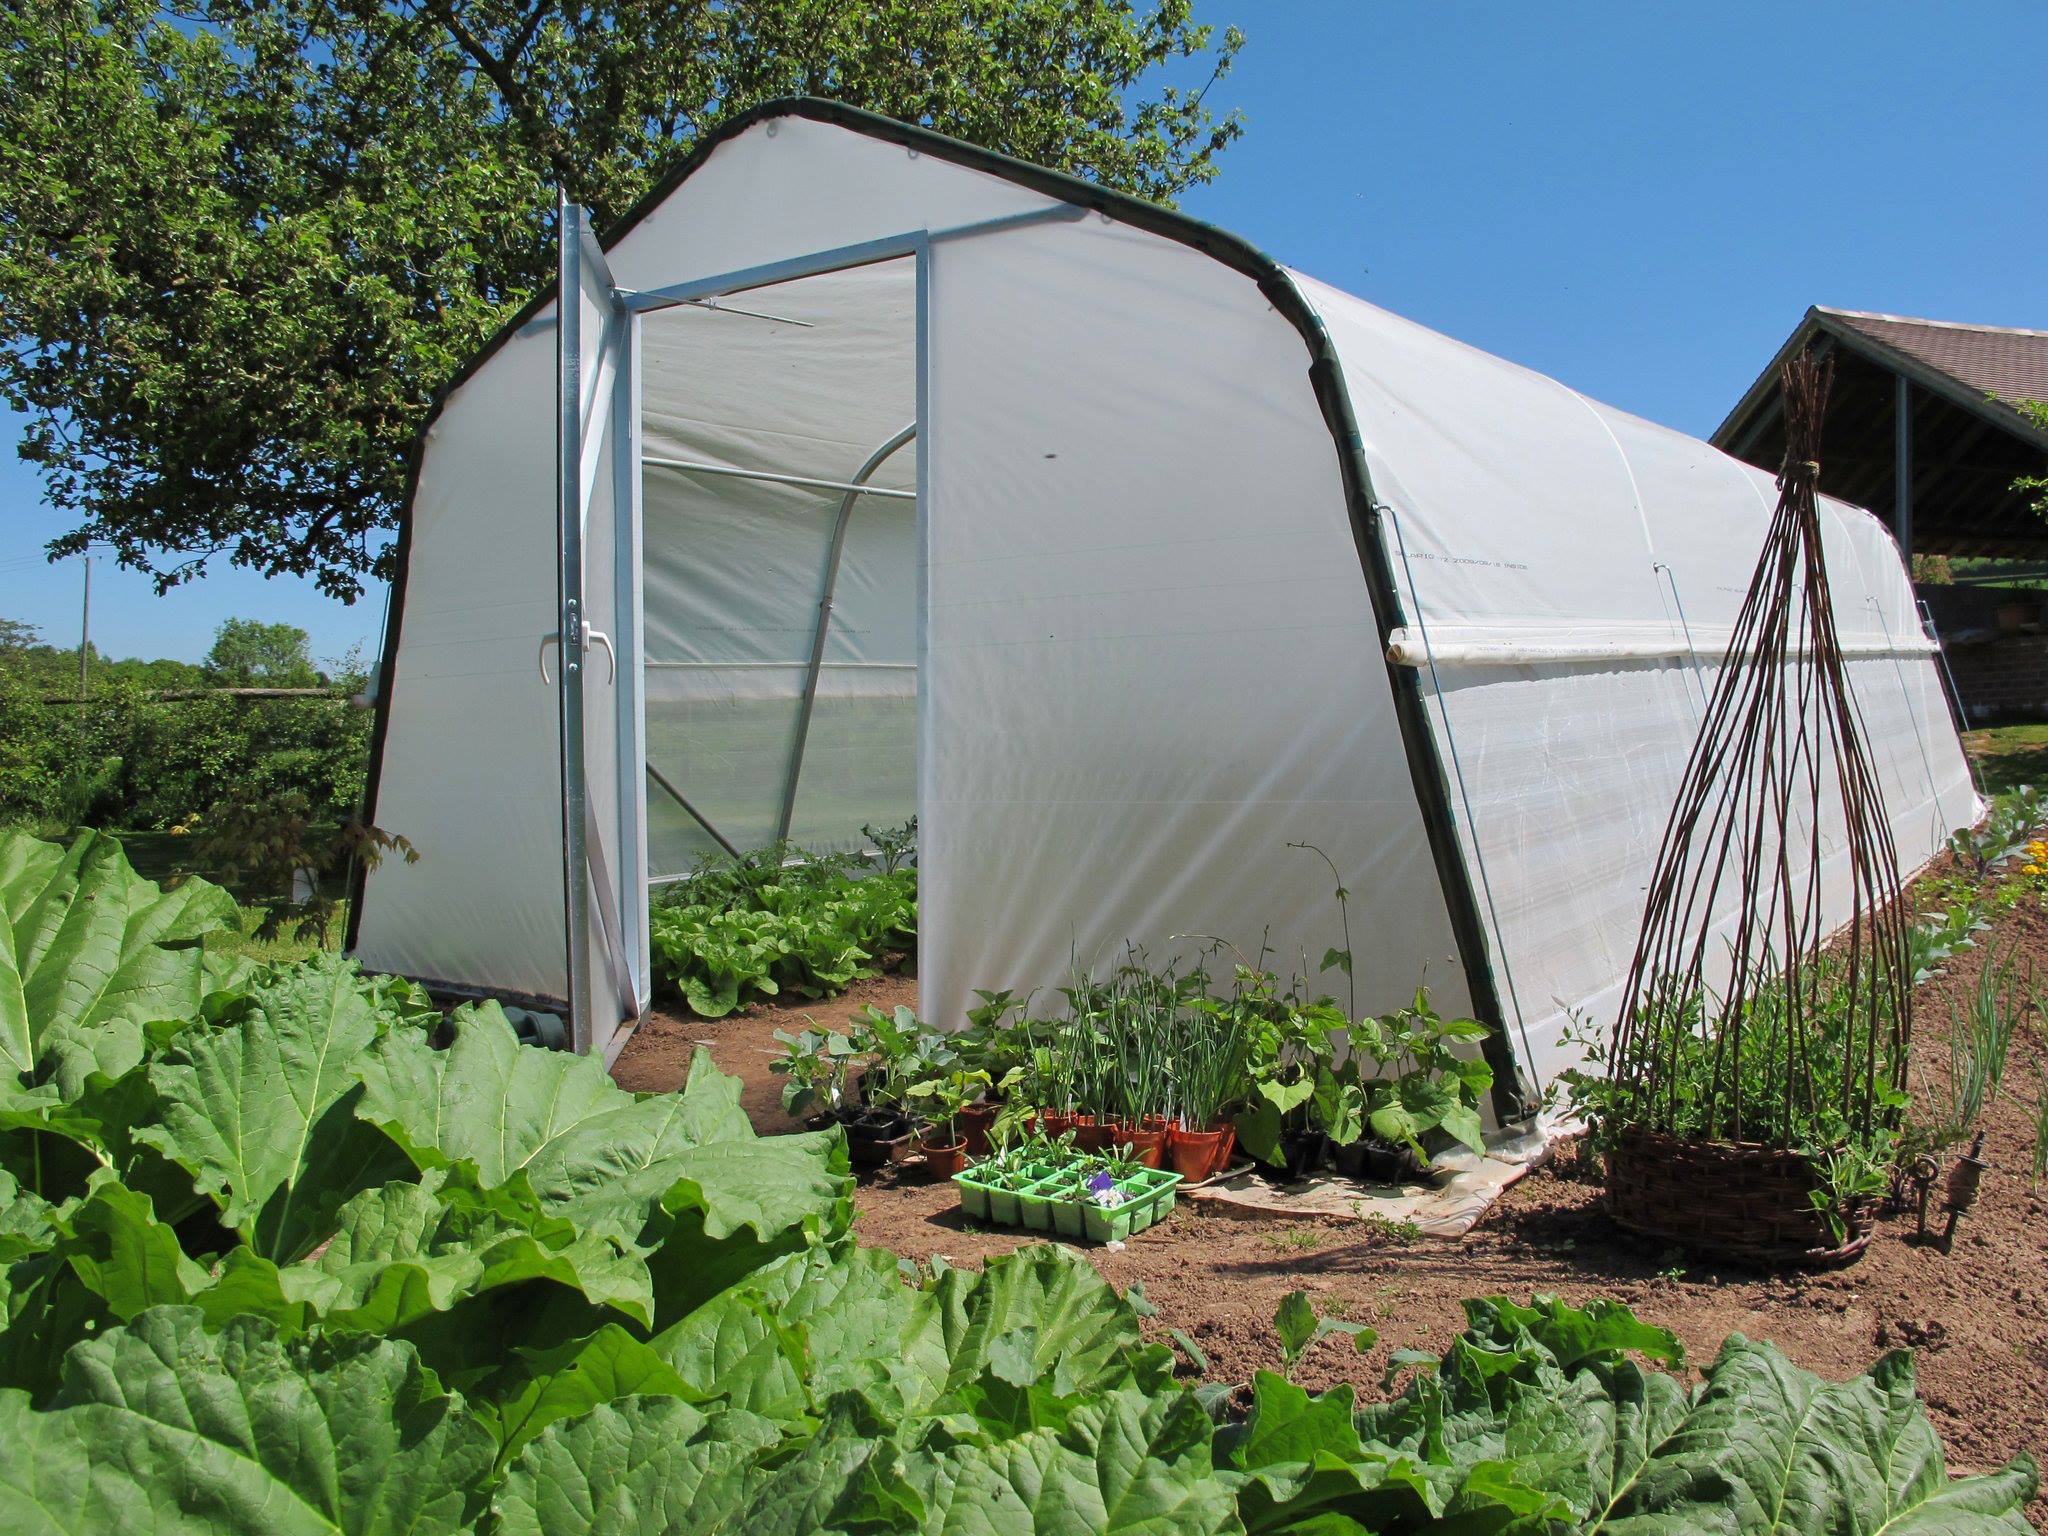
The first decision to make when it comes to planning your garden tunnel is to decide whether you will be growing in the soil or in raised beds. If you have nice, easy-to-work soil then we would suggest starting by using ‘nature’s soil’, you can always switch to raised beds later. If you are considering raised beds, you could also opt to put ground covers down before the tunnel is built. This will eliminate a high percentage of weeds within the tunnel and Haygrove Garden Tunnels can provide you with this material if required.
When delivering your garden tunnels to you, we pack them up securely in heavy boxes. It’s important to ensure that the access will allow these boxes to be carried to the site without any risk of damage to anyone or any tunnel! We would also recommend that you consider if there are any services in the ground where the tunnel will be situated. We use 80cm pegs to secure the tunnel, so it’s important that there are no services that could be affected by these pegs.
Location of your polytunnel
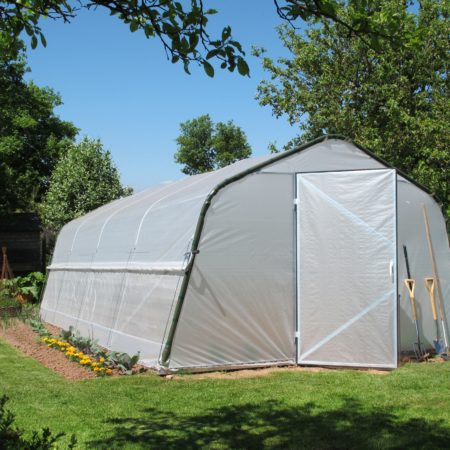
Before purchasing a polytunnel you should plan its exact location. Placing your garden tunnel in an area that is relatively flat is recommended, although it is possible to place one on a slope that doesn’t have too much undulation.
You should avoid placing your Garden Tunnel at the bottom of a slope, as it may mean that the ground beneath it is more prone to flooding or waterlogging.
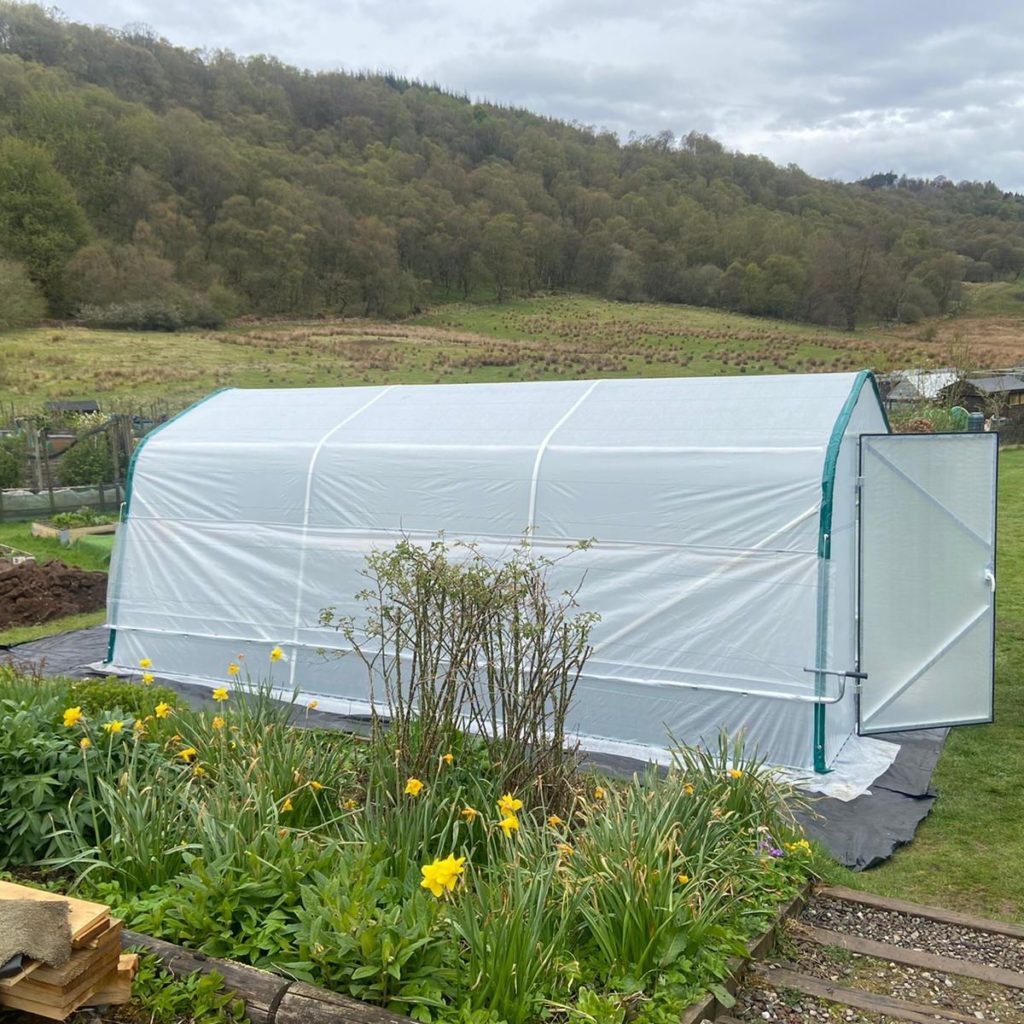
Next, ensure that there is a 1m minimum space around the tunnel for both construction and maintenance. It’s important to remember that the doors will require 1.25m of space to open fully. To achieve optimum growing conditions, you will need as much light as possible, so don’t place your Garden Tunnel directly underneath trees and hedges. Be careful of leaves falling onto the plastic covers as this can allow mold and lichen to take hold.
Consider positioning close to your water supply, especially if using the water mains. Collecting your own water is a great sustainable alternative made possible with our polytunnel gutters. Our siting polytunnel guide can help you to choose the perfect location for your tunnel.
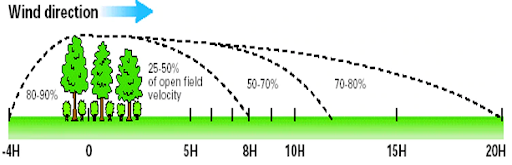
Wind
Haygrove Garden Tunnels are known for being incredibly strong in high winds, and we are very confident in their ability to withstand what nature throws at them. Although our heavy-duty polytunnels are very capable of surviving strong winds, if possible, try and position them in a more sheltered area. This will also help you to get the best from your covers. When the wind is forced through a narrow gap it picks up speed, therefore, you should avoid siting the structure directly in front of a gateway or a gap in the hedge where the wind will be forced to accelerate. The diagram below illustrates the value of windbreaks to reduce the speed of the wind and provide natural shelter for your polytunnel.
Choosing the size of your Garden Tunnel
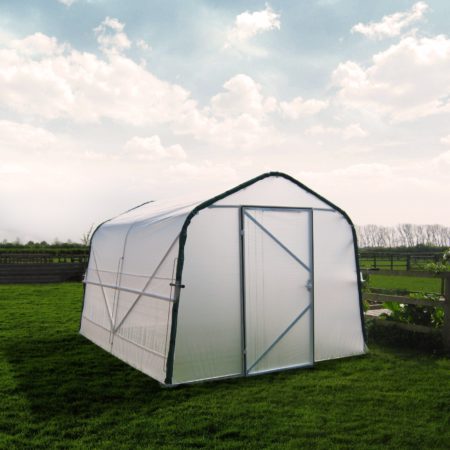
Haygrove Garden Tunnels are available in two widths, 3m (9’8″) and 4m (13’1″) with polytunnel covers to fit both. The lengths available range from 4m (13’1″) and then increase in 2m increments, up to a maximum length of 20m (65’6″).
It’s important to choose the right size to ensure that you have enough space for the types of crops you would like to grow. We recommend purchasing the largest polytunnel for the space available, as this gives you room to expand your gardening efforts and means you won’t regret going too small. Although, your budget will likely dictate what size you are able to opt for. We have a lot of customers who tell us that they wish they had bought a bigger tunnel – polytunnel growing is addictive! Take a look at our specification page for more support.
Do you need planning permission for your polytunnel?
You will also want to consider whether or not you will need planning permission before purchasing your Haygrove Garden Tunnel. Our polytunnels are designed so that they don’t require concrete foundations. They are in place with 80cm steel pegs which makes them moveable so should not be designated as a permanent structure.
If in doubt, it is best to contact your local council. Often council planning departments run free clinics where you can take some pictures and plans of what you are going to do and get some advice on whether planning permission is required. On an allotment, it will depend on the rules of your individual site. We recommend checking with your site representative or manager, who will be able to give you guidance.
Lead time
We always try to maintain a healthy stock of tunnels in our warehouse, but inevitably during busy periods such as Spring, stocks can run low. It’s recommended to try and give us as much notice as possible to ensure we can deliver and construct, if required, on time. We would say to order in autumn/winter to be ready for spring planting!
Replacement polytunnel covers
Covers for your garden tunnel can help to protect them from the different elements they may face and can help them to last much longer. Our polytunnel covers have the following key properties:
- They are made from a woven material that is laminated on both sides to produce an incredibly resilient cover.
- They diffuse 55% of the light giving a wonderful environment to grow in, as this diffusion both enhances the light and helps to reduce temperature.
- All of the covers have roll-up sides that allow 1m of ventilation along the full length of both sides of the tunnel. As the plastic is rolled up an insect mesh is revealed, allowing air in but keeping insects out.
- Unlike many polytunnels, you do not need to dig a trench to ensure the polythene is kept tight. We use a zig-zag wire to attach the cover to a steel frame.
- The gable ends are separate pieces of material and so they do not need pleating at the ends.
- Our covers tend to last on average 9-12 years. This is dependent on covers being fitted properly at the start.
Although it seems a lot to think about, don’t worry and don’t let it phase you. If you are unsure after reading this blog then please visit our contact page as we are always at the end of the phone to help you with any questions you may have. We also exhibit our garden tunnels at numerous shows, but if you missed these/ don’t want to wait until next year, watch a virtual tour video which explains every garden polytunnel attribute.