


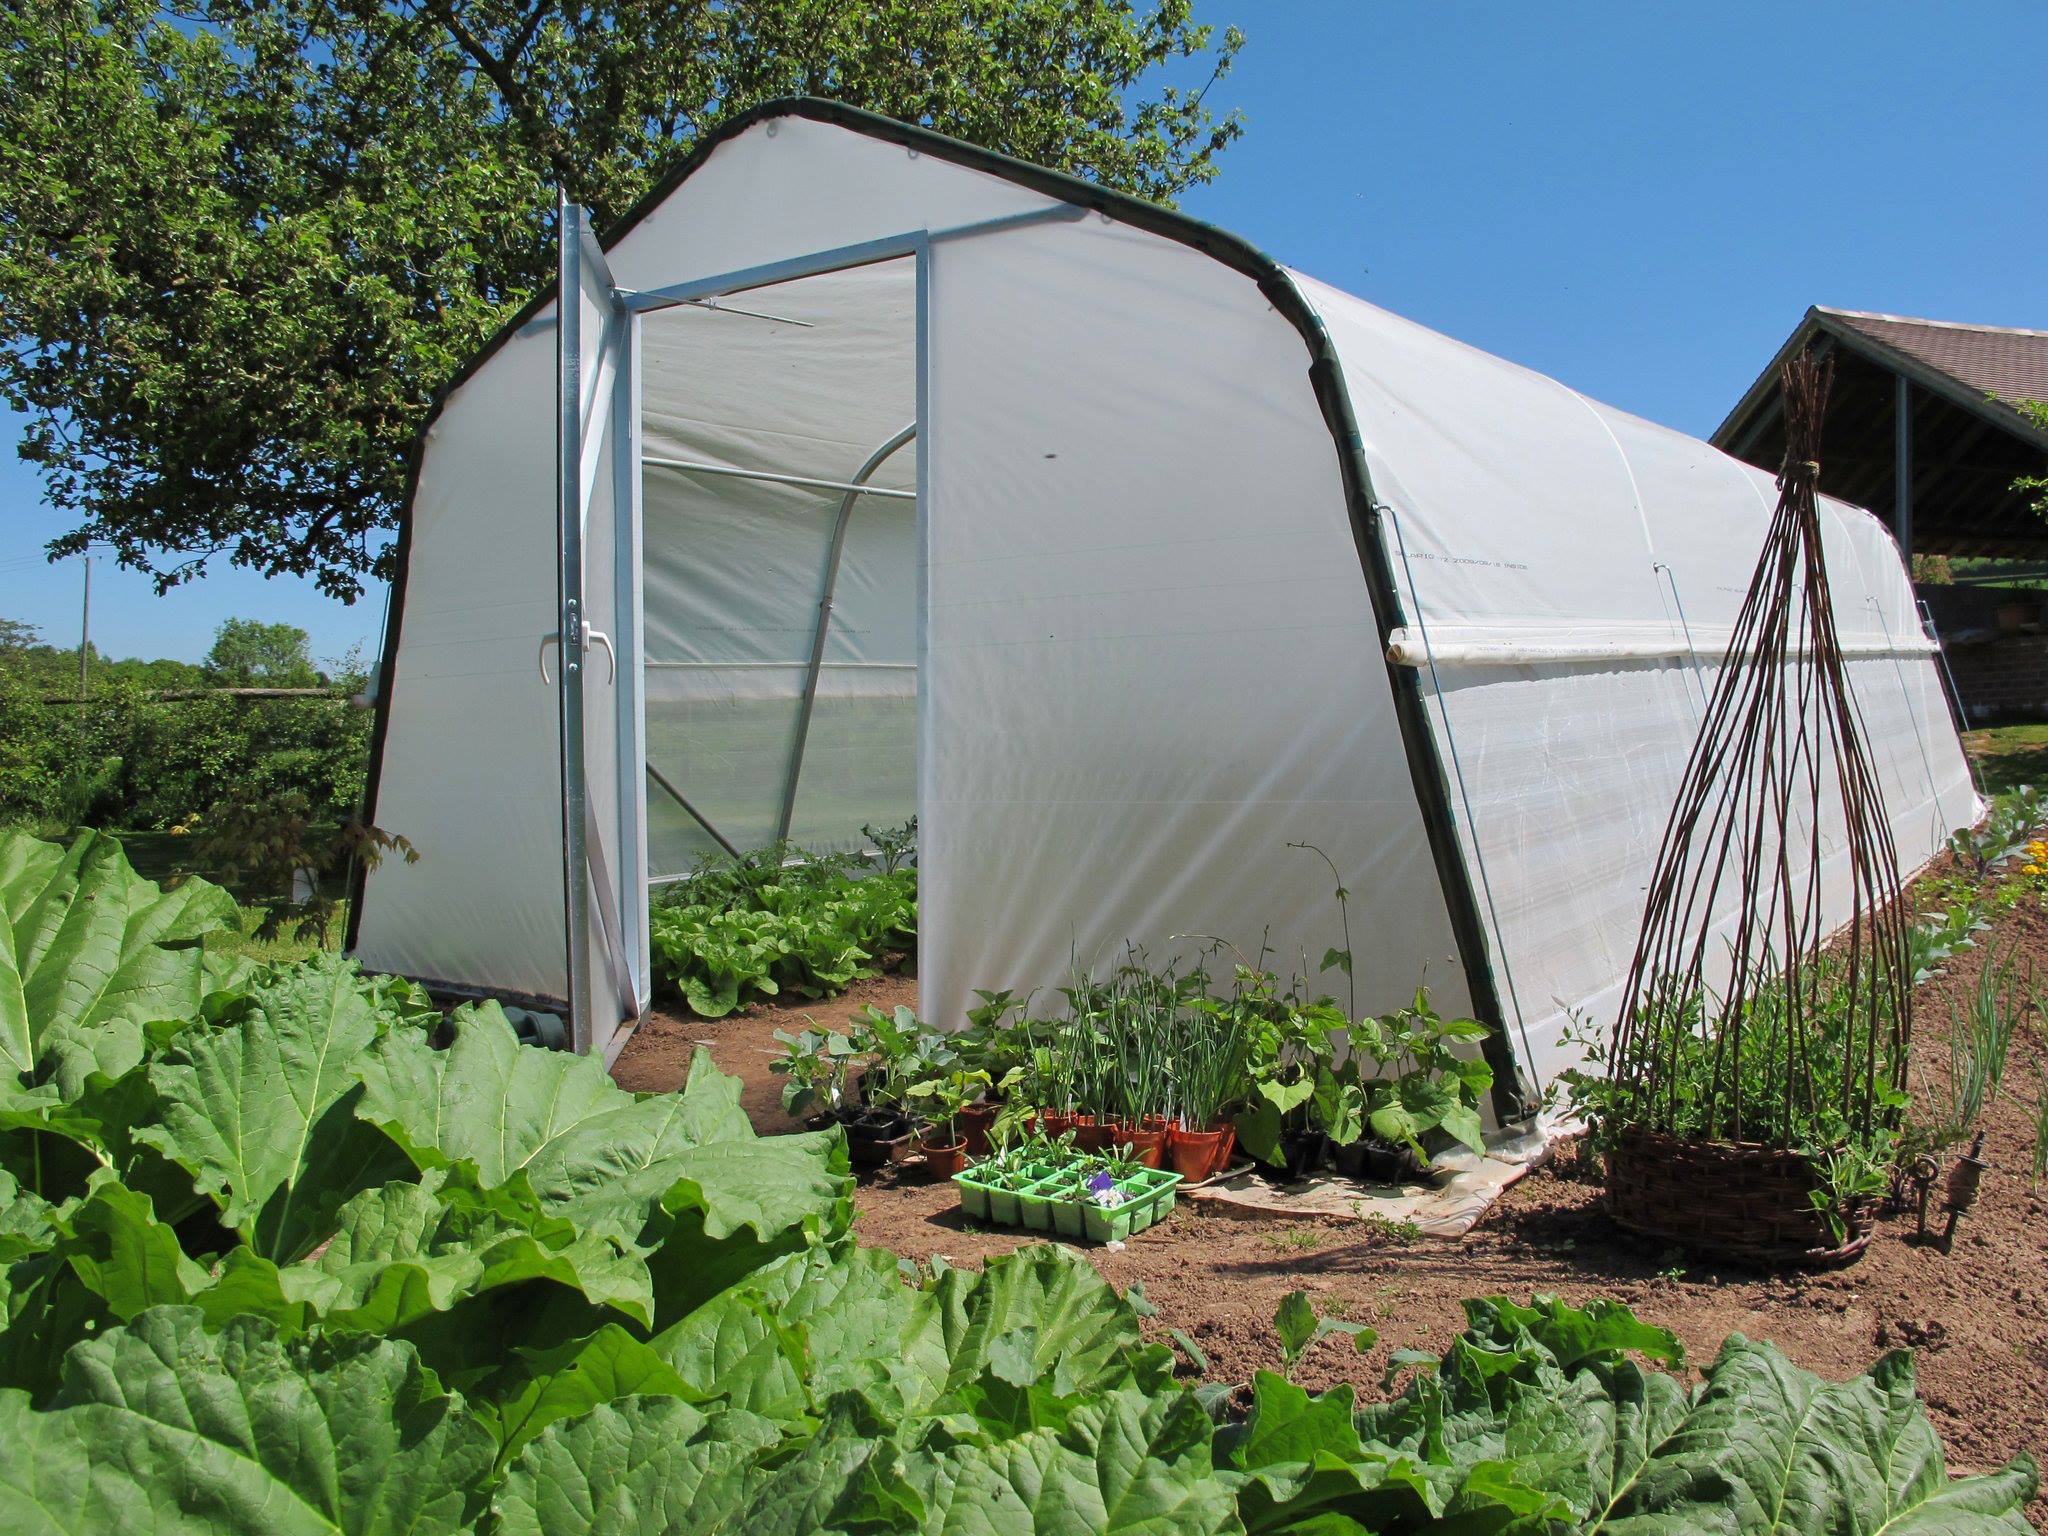
Garden tunnels are an excellent addition to any household garden, allotment, or smallholding, providing a controlled environment for your plants and helping to extend the growing season. Whether you are a seasoned gardener or just starting out, installing a garden polytunnel can be the start of a rewarding hobby. You may be wondering ‘how do I install a polytunnel?’, to help you get started, we have created a list of 10 top tips to ensure a successful construction process.
Watch our team build the Haygrove Garden Tunnel Here.
1. Plan and prepare ready for your Garden Tunnel
Before diving into the polytunnel installation process, take the time to plan and prepare. Consider the size of your garden, the available space, and the specific needs of your plants. Do your research to understand the perfect size tunnel for you. Is it for a small garden, a larger garden or an allotment? These are important questions to consider as if you have more room to play with you can opt for our larger tunnel, if you have limited space you will want to consider how much room this garden tunnel will take up and how much room you will have left. Take a look at why Haygrove Garden polytunnels are the best choice for your allotment, click here for more advice.
Our advice would be to go as big with your polytunnel as you can, we often get customers coming back to us saying their only regret is not installing a larger sized polytunnel. Some of our Garden Tunnel customers have extended their Garden Tunnel or even bought a second one!
If you would like further advice regarding the planning stage and what size and requirements you have, speak to our Garden Tunnel experts on 0800 255 0875 or via our contact form.
2. Choose the right location
Select a location that receives ample sunlight and is well-drained to install your garden polytunnel. Avoid areas with excessive shade, directly under trees and hedges or areas prone to waterlogging as this can cause problems in the long run. Additionally, consider the proximity to water sources and accessibility for maintenance before you install a polytunnel. Our garden tunnels are suitable for windy locations so even if you live in one of these areas we still have something for you. Take a look at our siting guide for more information on choosing the right location.
3. Measure and mark the spot!
Measure the area where you plan to install your polytunnel and mark it accordingly. Ensure that you have enough space to accommodate the length and width of the Garden Tunnel, allowing for easy access and airflow. A flat surface isn’t necessarily required as they can be positioned on gently sloping land. Polytunnels for allotments will be easier to site as you will have your set space and area so you can work with what you already have. You will also want to consider whether you can walk around the polytunnel and once measured and marked out you can decide whether you want to keep your polytunnel there, this saves you having to move it about once it’s been constructed and installed!
4. Clear the area where your polytunnel will live
Once you have decided where you will want to install your polytunnel you can then clear any debris, rocks, or vegetation from the marked area. This will help to prevent any damage to the tunnel and help to facilitate plant growth.
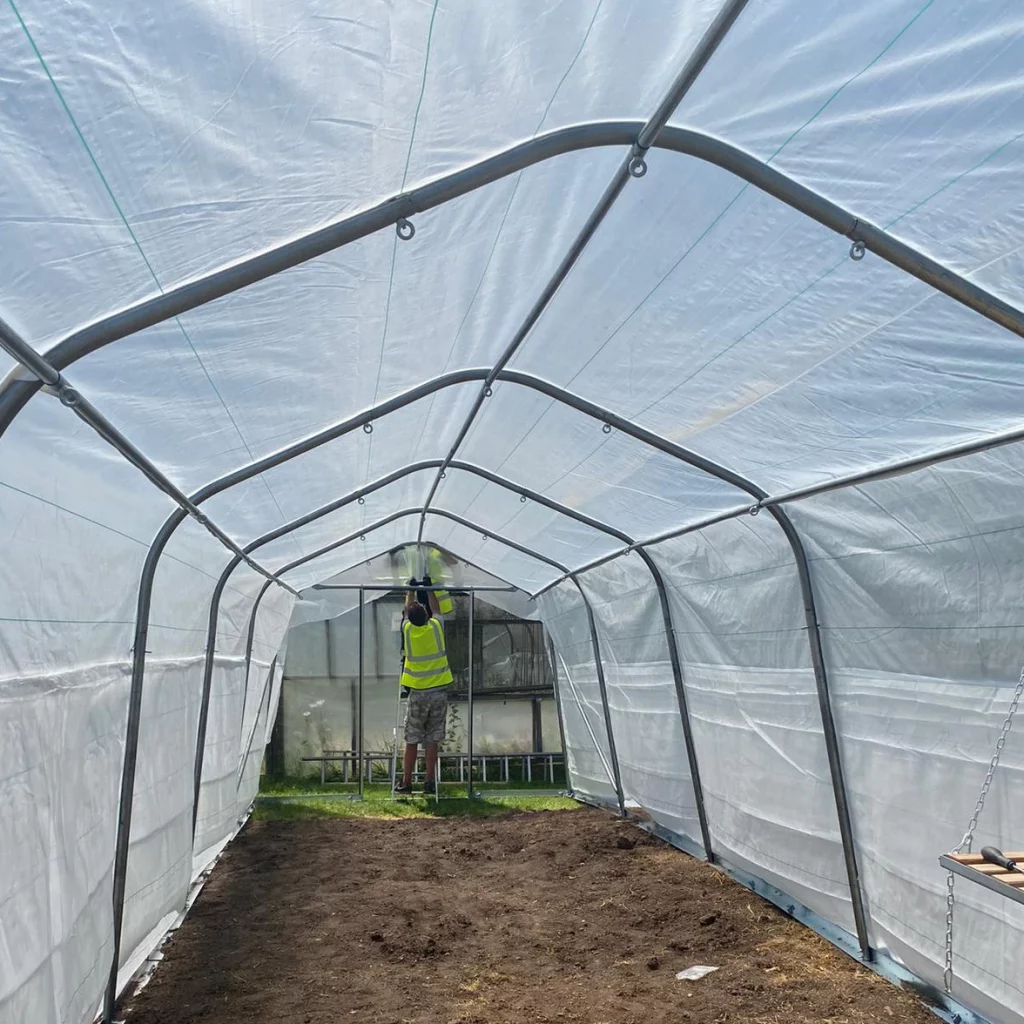
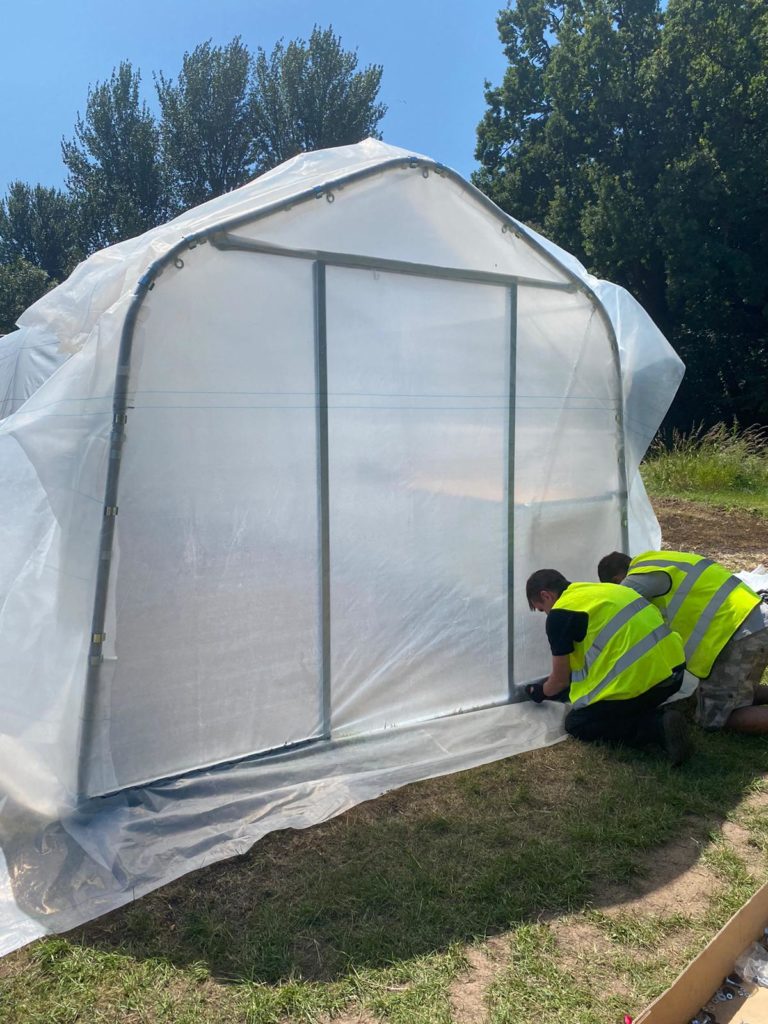
5. Take care when self-building your garden tunnel
If you opt for self-build instead of our construction services, it’s important to follow our detailed comprehensive manual and recommend that you allow two days to build. This useful step-by-step manual will help to ensure your polytunnel is installed safely and securely and it will last for a long time.
6. Provide ventilation
Once your polytunnel is constructed, it’s time to consider some other important areas. Proper ventilation is essential for the health of your plants. Our polytunnels can come with either 1 or 2 doors for optimum ventilation at either end of your polytunnel. This is a roll-up, roll-down ventilation system that lets air in and keeps insects out. Speak to our Garden Tunnel experts for more advice.
7. Secure the Garden Tunnel
Our construction team will always ensure the tunnel is secure and can stand against strong winds and other adverse weather conditions. This is an important area to consider when self-building your tunnel to make sure it is safe and secure, our heavy-duty polytunnels are very durable so once installed correctly they will be hard to budge!
8. Keep an eye on your polytunnel
When planting in your polytunnel you will want to regularly monitor the temperature, humidity, and moisture levels inside your garden tunnel, especially with the warmer weather we have been having. Adjust ventilation, watering, and shading as needed to create the optimal environment for your plants. Be attentive to the changing seasons and adjust accordingly.
9. Maintain and clean your tunnel regularly
Regular maintenance and cleaning are essential for the longevity of your garden tunnel. Remove any debris, pests, or weeds that may accumulate inside the tunnel. Check for damages, repair or replace components as necessary, and keep the tunnel clean to prevent disease and pest infestation. We have some polytunnel accessories such as replacement polytunnel covers, that can help to maintain and improve your Garden Tunnel.
10. Enjoy your polytunnel!
Now you have taken these steps to safely and securely install your polytunnel as well as keep on top of maintenance and cleaning, you can now enjoy the benefits of growing your own produce and plants in your very own garden or allotment.
Correct installation of your Haygrove Garden Tunnel can significantly enhance your gardening experience and improve the productivity of your plants. Remember to plan carefully, choose high-quality materials, provide proper ventilation, and regularly monitor and maintain your tunnel. With dedication and care, your garden tunnel will create an ideal environment for your plants to thrive throughout the year. Happy gardening!
For further support contact us today, take a look at our Garden Tunnel Virtual Tour or visit our Construction and Installation pages.